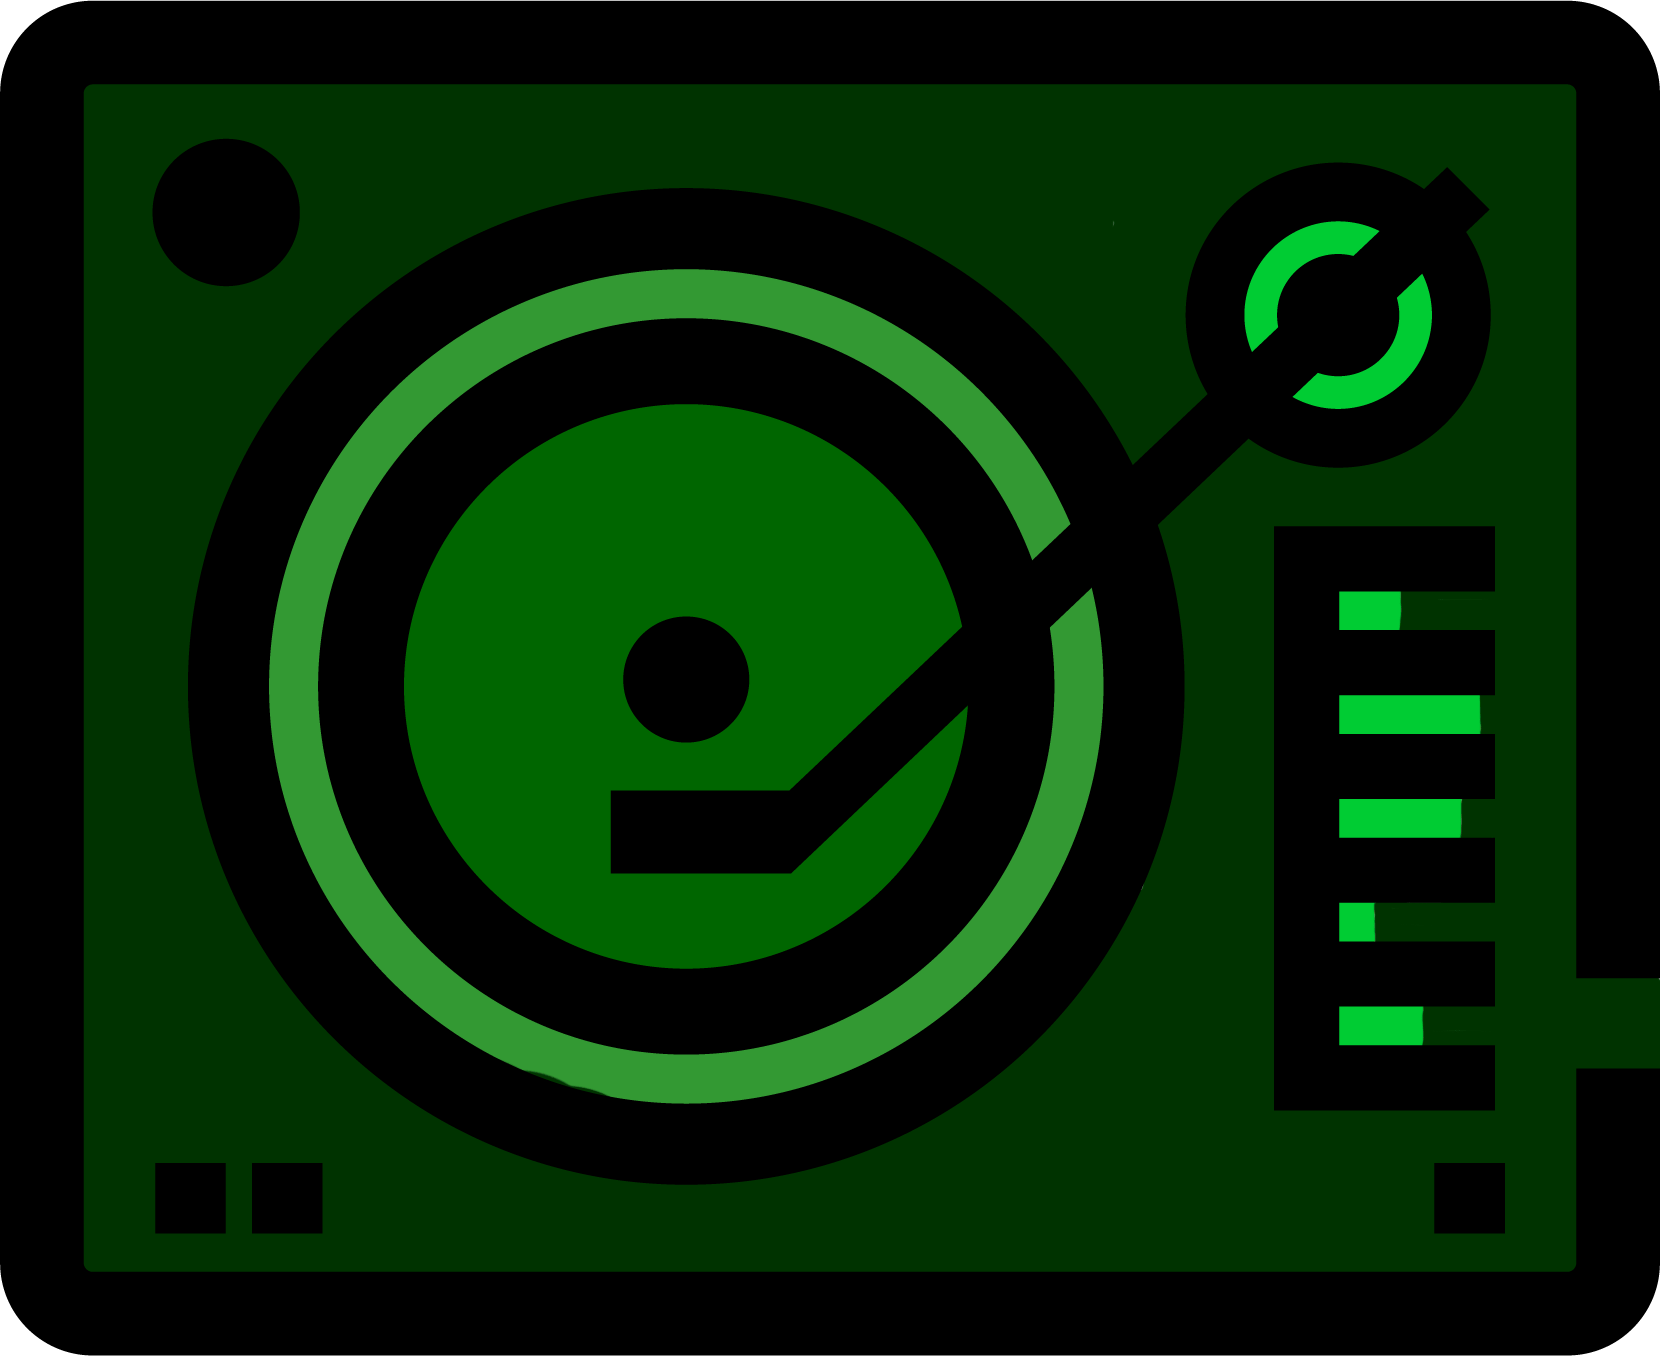
Vinyl Cutting
Calling all avid vinyl designers, no matter your skill level! Check out our vinyl cutting services to create your own custom vinyl designs.
Did you know that Cricut Makers can cut more than just vinyl? You can bring paper and fabric projects to cut as well. Still want more information or practice? Sign up for an upcoming Makerspace & Making class.
Get Certified for Vinyl Cutting Now!
EPL's Vinyl Cutting services are available to customers aged 12 and over. All participants must complete an introductory certification course, either in-person or online. Click the button below to get started!
What is Vinyl Cutting?
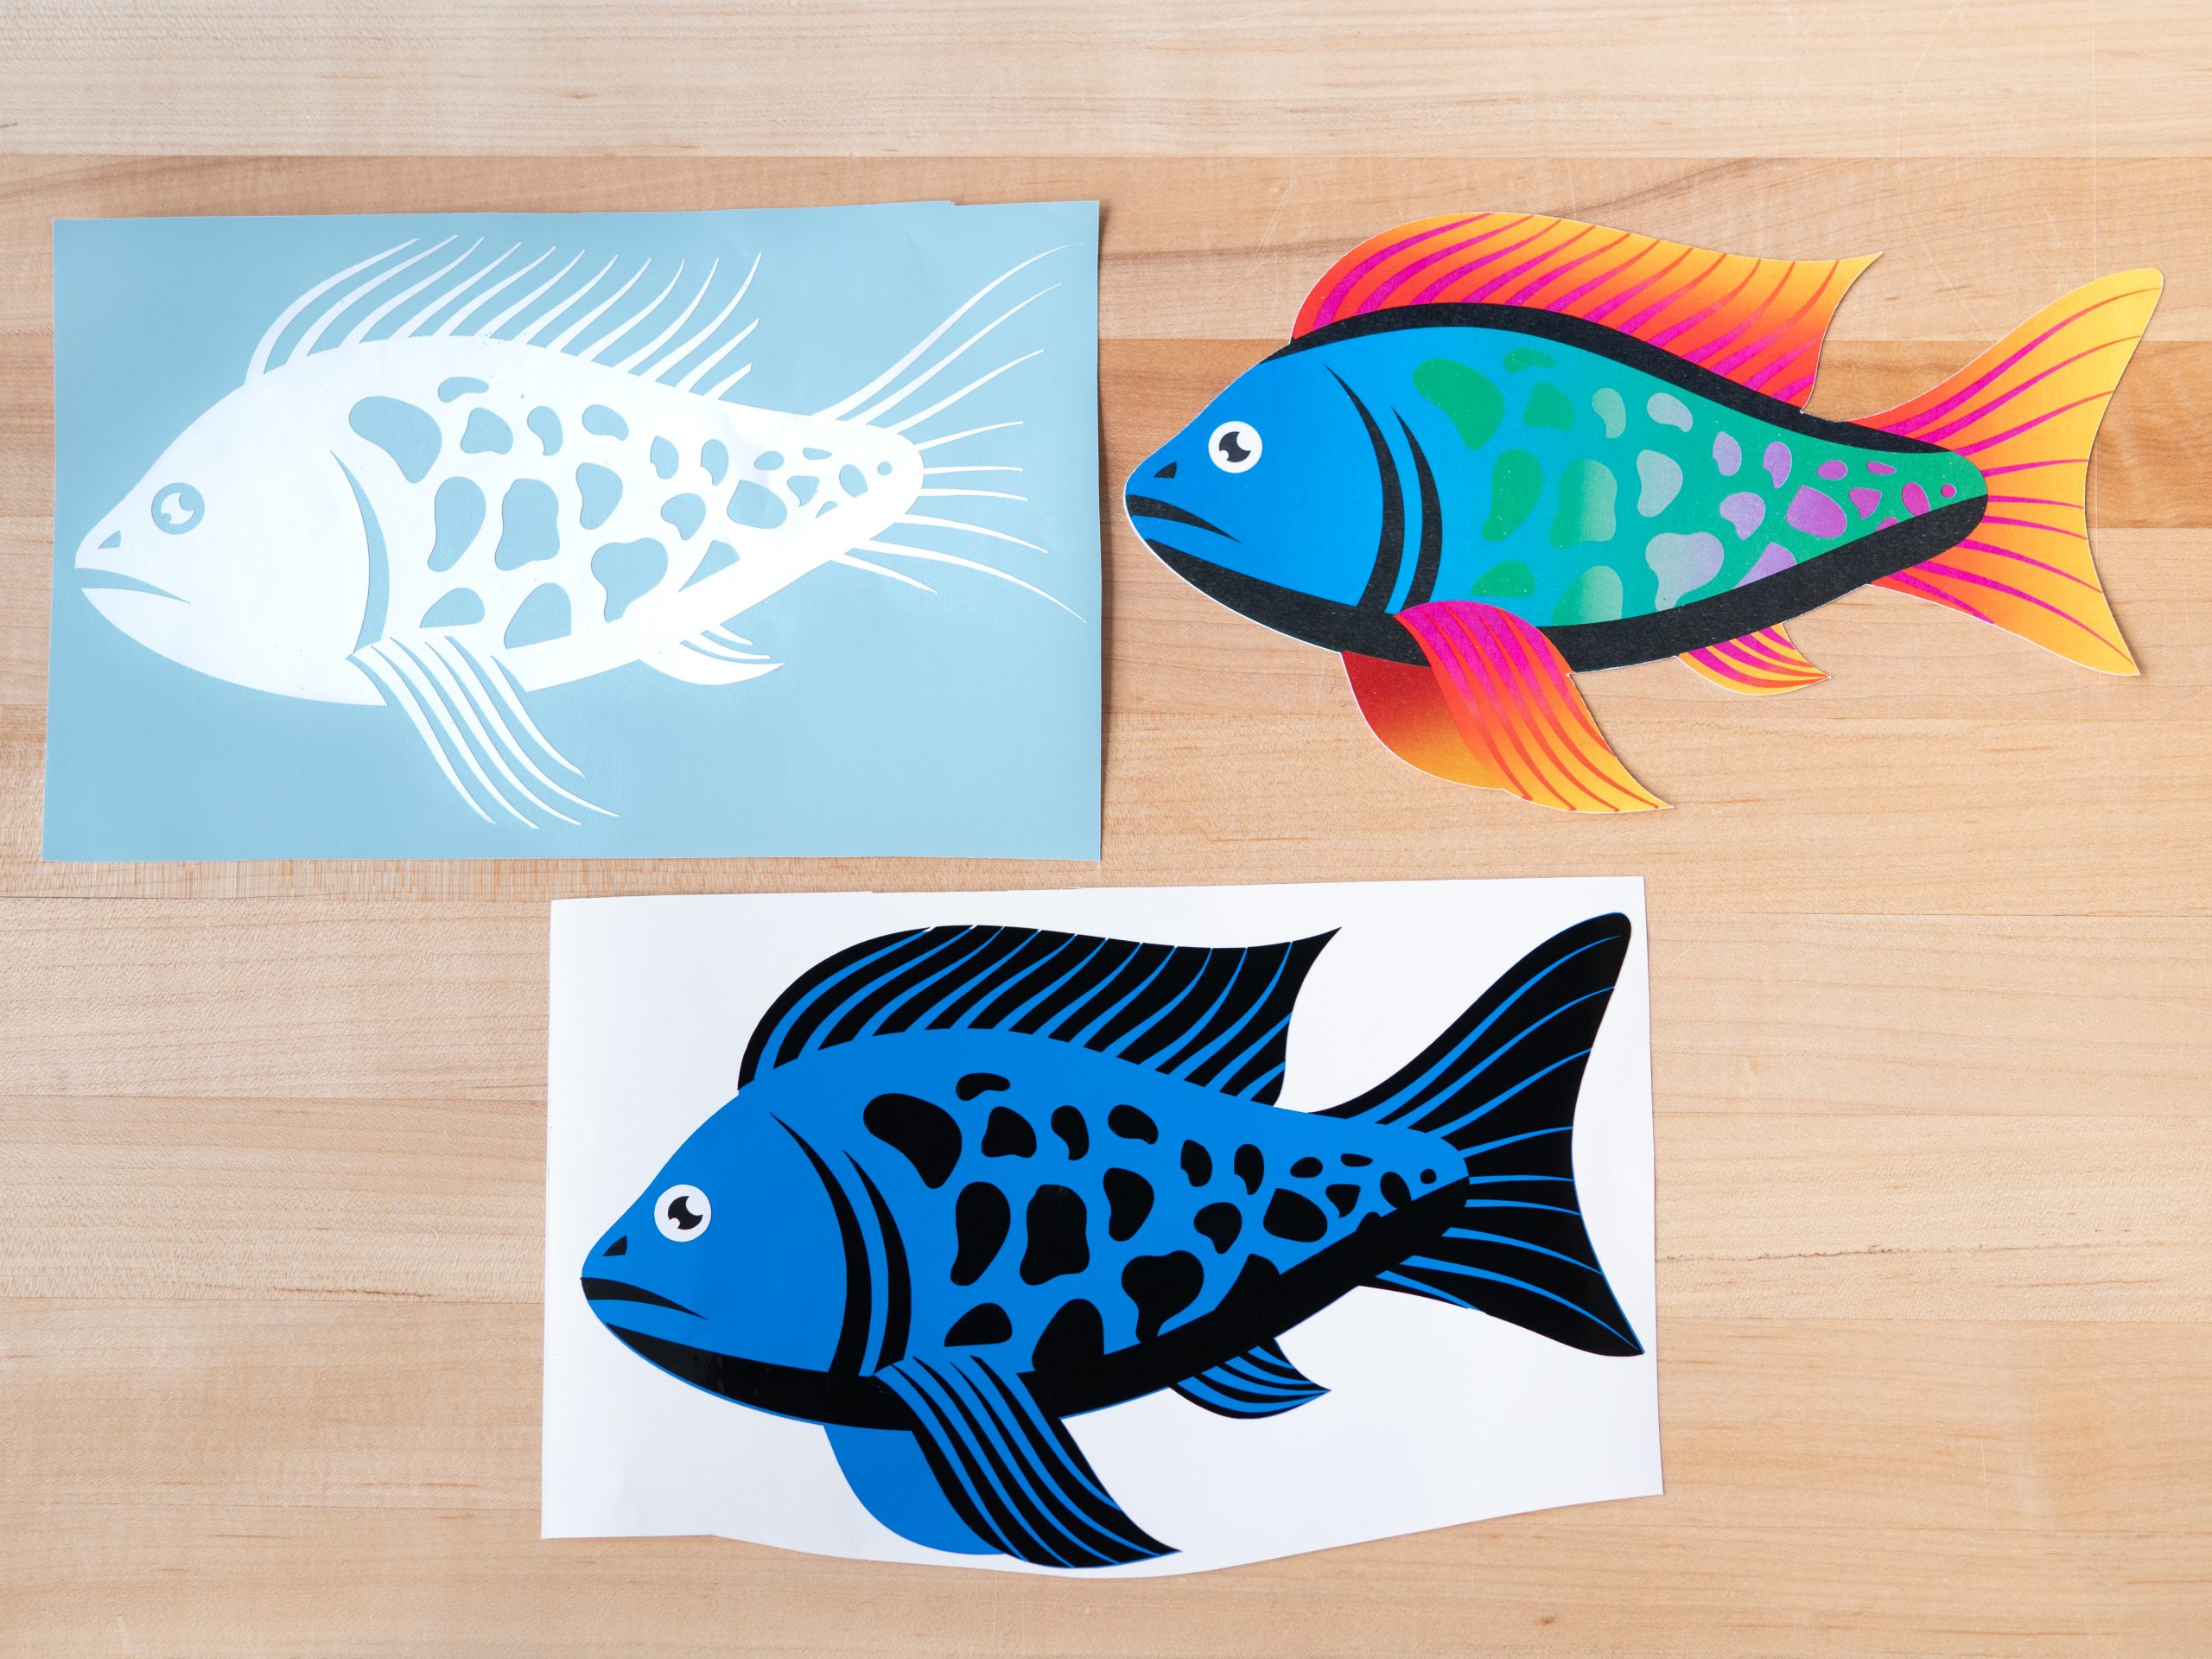
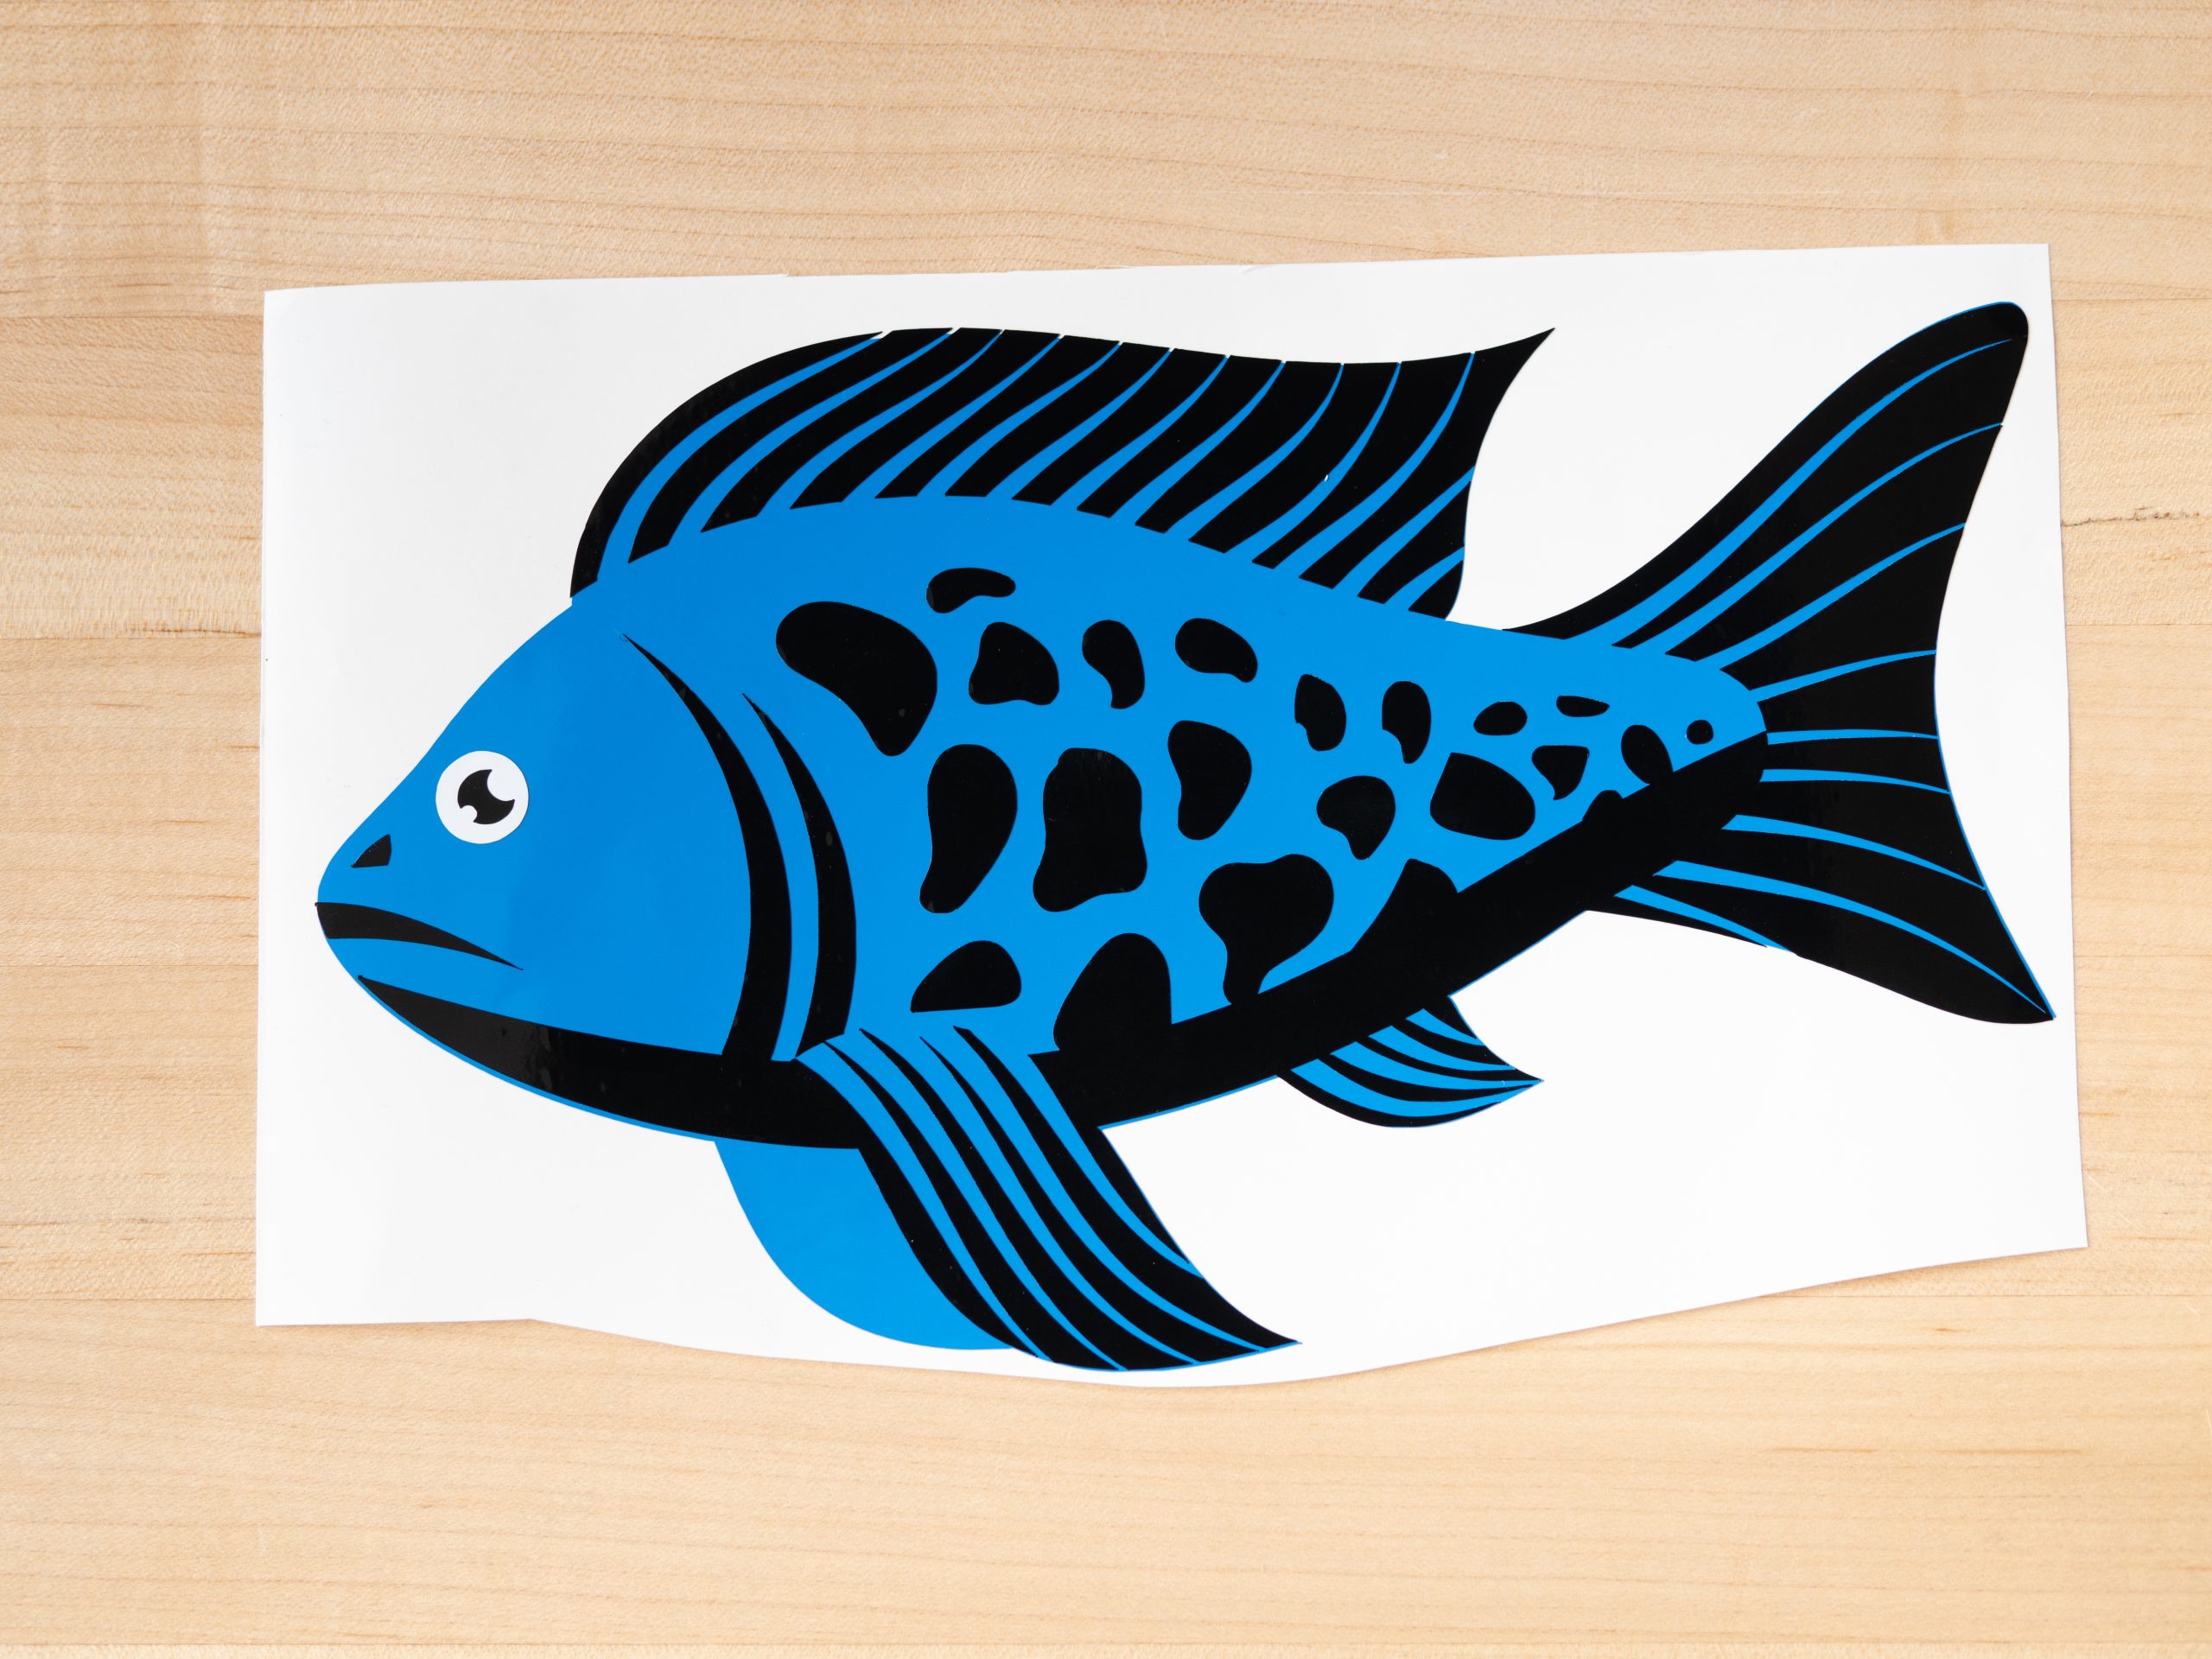
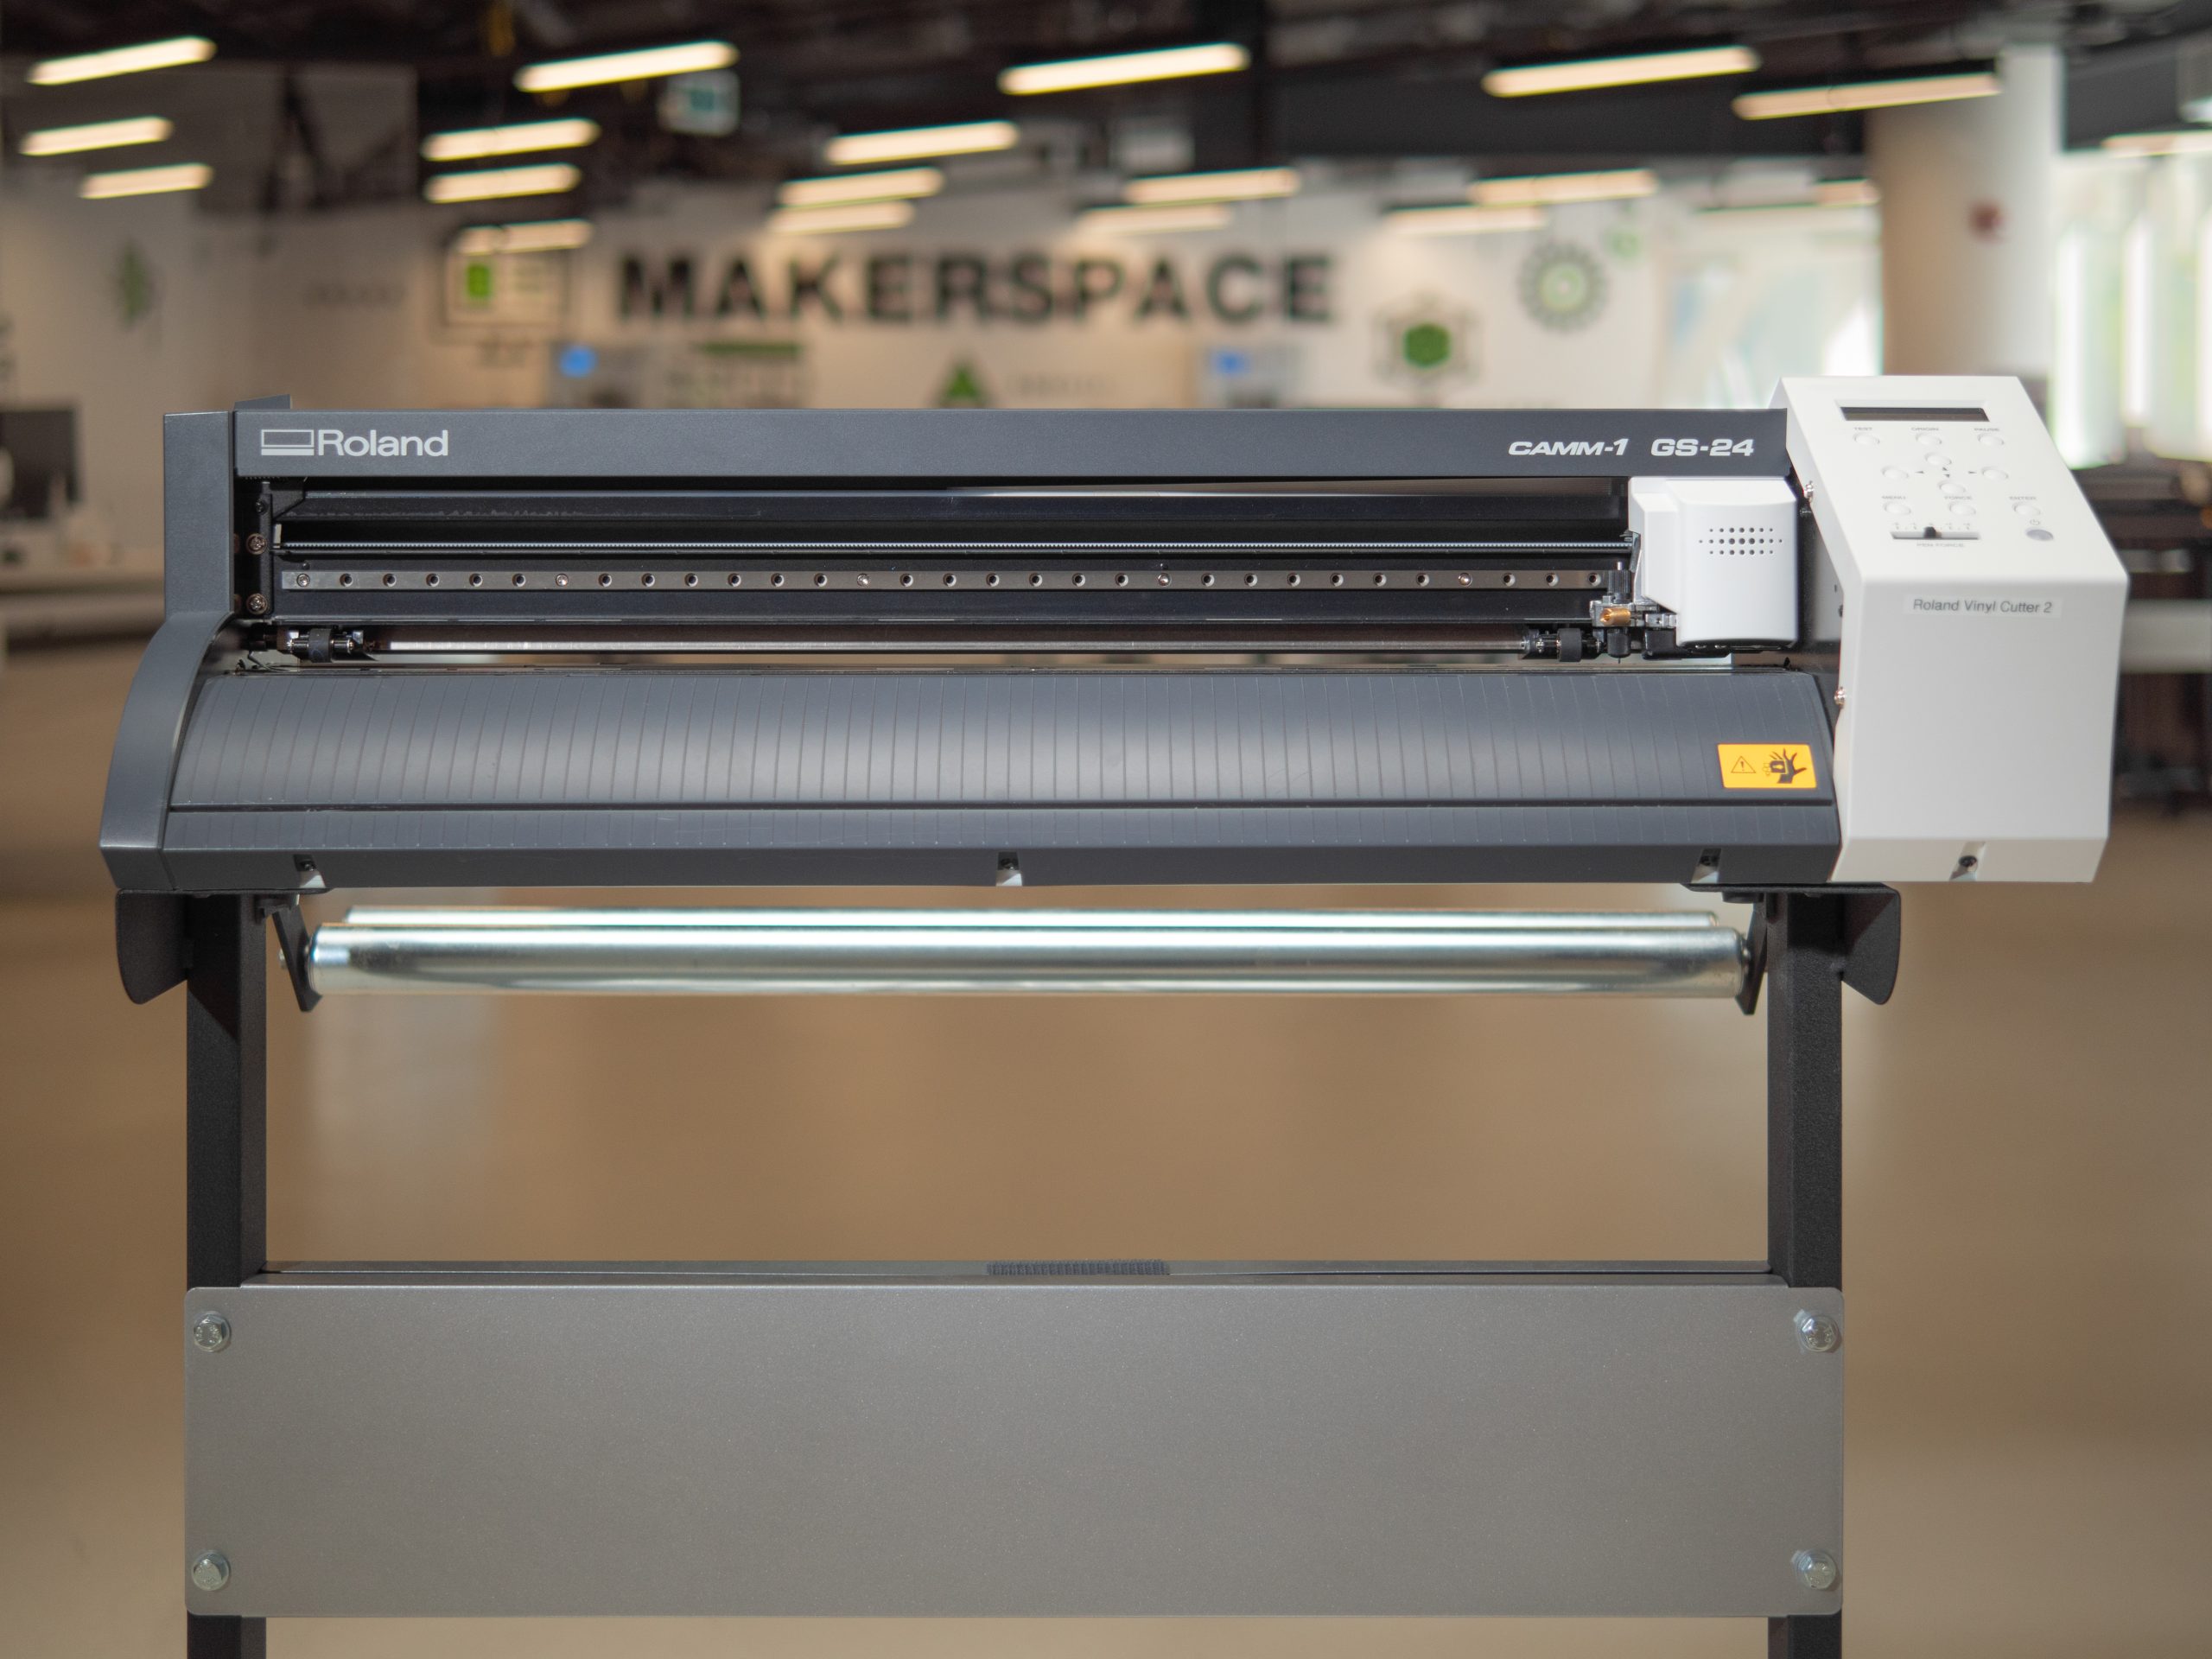
A vinyl cutter/craft cutter is a robot that cuts lines into vinyl and other craft materials. In the case of vinyl, you weed or remove the background (or negative space) and leave behind your custom design. Vinyl can be used to create decals for both hard surfaces (vehicles, laptops, walls, etc.) and fabrics (cotton T-shirt, bags, etc.) when used with the heat press. Book your first appointment to get certified to use our vinyl cutters.
How to book
Call or email ahead to book our vinyl cutting/craft cutting services across the branches listed below.

Service Overview
- Service operates during library hours. Check with your local Makerspace for hours of operation and availability.
- Training and certification is provided in Cricut 101 classes or via our On-Demand Cricut 101 Certification course. Check in with your branch for details.
- Recommended for ages 12+
- Children under 12 will need to be accompanied by a caregiver who has completed the training and certification.
- Cost of vinyl: $2.00 - $6.00/square foot OR bring in your own with the original packaging.

Getting Started
To access vinyl cutting services at EPL:
- Have an EPL Library card. Other card options, opens a new window are accepted.
- Complete the Makerspace waiver.
- Complete the On-Demand Cricut 101 Certification course or participate in an in-person Cricut 101 class.
-
Book an appointment through your local EPL branch.

Equipment and Material Details
Vinyl Cutting/Heat Press Classes
BiblioEvents Feed
Projects for Everyone
We are excited to have customers use our vinyl cutting and heat press for all kinds of creative projects. Makerspace staff are happy to help you get started on your first project. We’ve put together a few ideas to help you get familiar with the equipment and some resources you’ll need to get started.

Certification Project


Super Easy Address Project
If you are living in a house, you are probably familiar with the garbage and compost bins we’ve all been given. Vinyl decals are a great way to label your bins to keep them looking fresh. You’ll have the best bins on the block after making this design.
- Using Cricut Design Space, click on the text feature in left toolbar.
- Type in your address. Experiment with fonts! We recommend selecting one of the free fonts.
- Adjust the font size to fit your bin's label.
Don’t need to label your garbage bins? You can use this address sticker for anything you might want to label with your address, including your house, just adjust the size.

3D Paper Flowers
- Google "Rolled paper flower svg" and select a design you like and is free to use. Save the file to your desktop.
- Upload the design into Cricut Design Space and perform the cut.
- Remove the paper and twirl it tightly to form the flower. Hot glue the bottom to hold the shape.

Dual-Coloured Dinosaur
Who doesn’t love dinosaurs? Especially cool dinosaurs. This project will show you how to create a dual-colour decal that you can stick on your laptop, car, or even bedroom wall.
- Do a Google Image search for “dinosaur silhouette” and save image to desktop.
- Do a Google Image search for “sunglasses cartoon” and filter by black and white to find a sweet pair that works for the vinyl cutters (and your dinosaur) and save image to desktop.
- Using Cricut Design Space, upload the two images. Size the two to fit on each other, with the sunglasses on top of the dinosaur layer. Make sure they are different colours so they will cut separately.
If you don’t like dinosaurs, check out these sweet books to restart your interest in these awe-inspiring animals. But if you really don’t want one stuck to your wall forever, you can substitute in any animal silhouette of your choosing.
Frequently Asked Questions
Frequently Asked Questions
-
Weeding is the process of picking out all of the negative space once the vinyl has been cut. This can be time consuming if you have a lot of negative space. For example, choose a ladybug with 6 dots, not 100 so you only have to pull out the 6 dots. We will provide training on weeding at your first appointment.
-
A decal is a word we use for something that is like a sticker, but due to the design constraints of the vinyl cutter is not just a photo with a sticky back. Decals are often one or two colours, and simple in design.
-
Any picture file will work. This includes JPEGs, PNGs as well as SVGs. If you have an illustrator file, you will find most success exporting it as a PNG. What is most important is having a good quality image that meets the design requirements for a vinyl cut. If the image is small or blurry it will result in a rough edge which is difficult to cut and weed.
